
 by
by In my last post, I covered how to load an Isilon Virtual Node in to VMware Workstation.
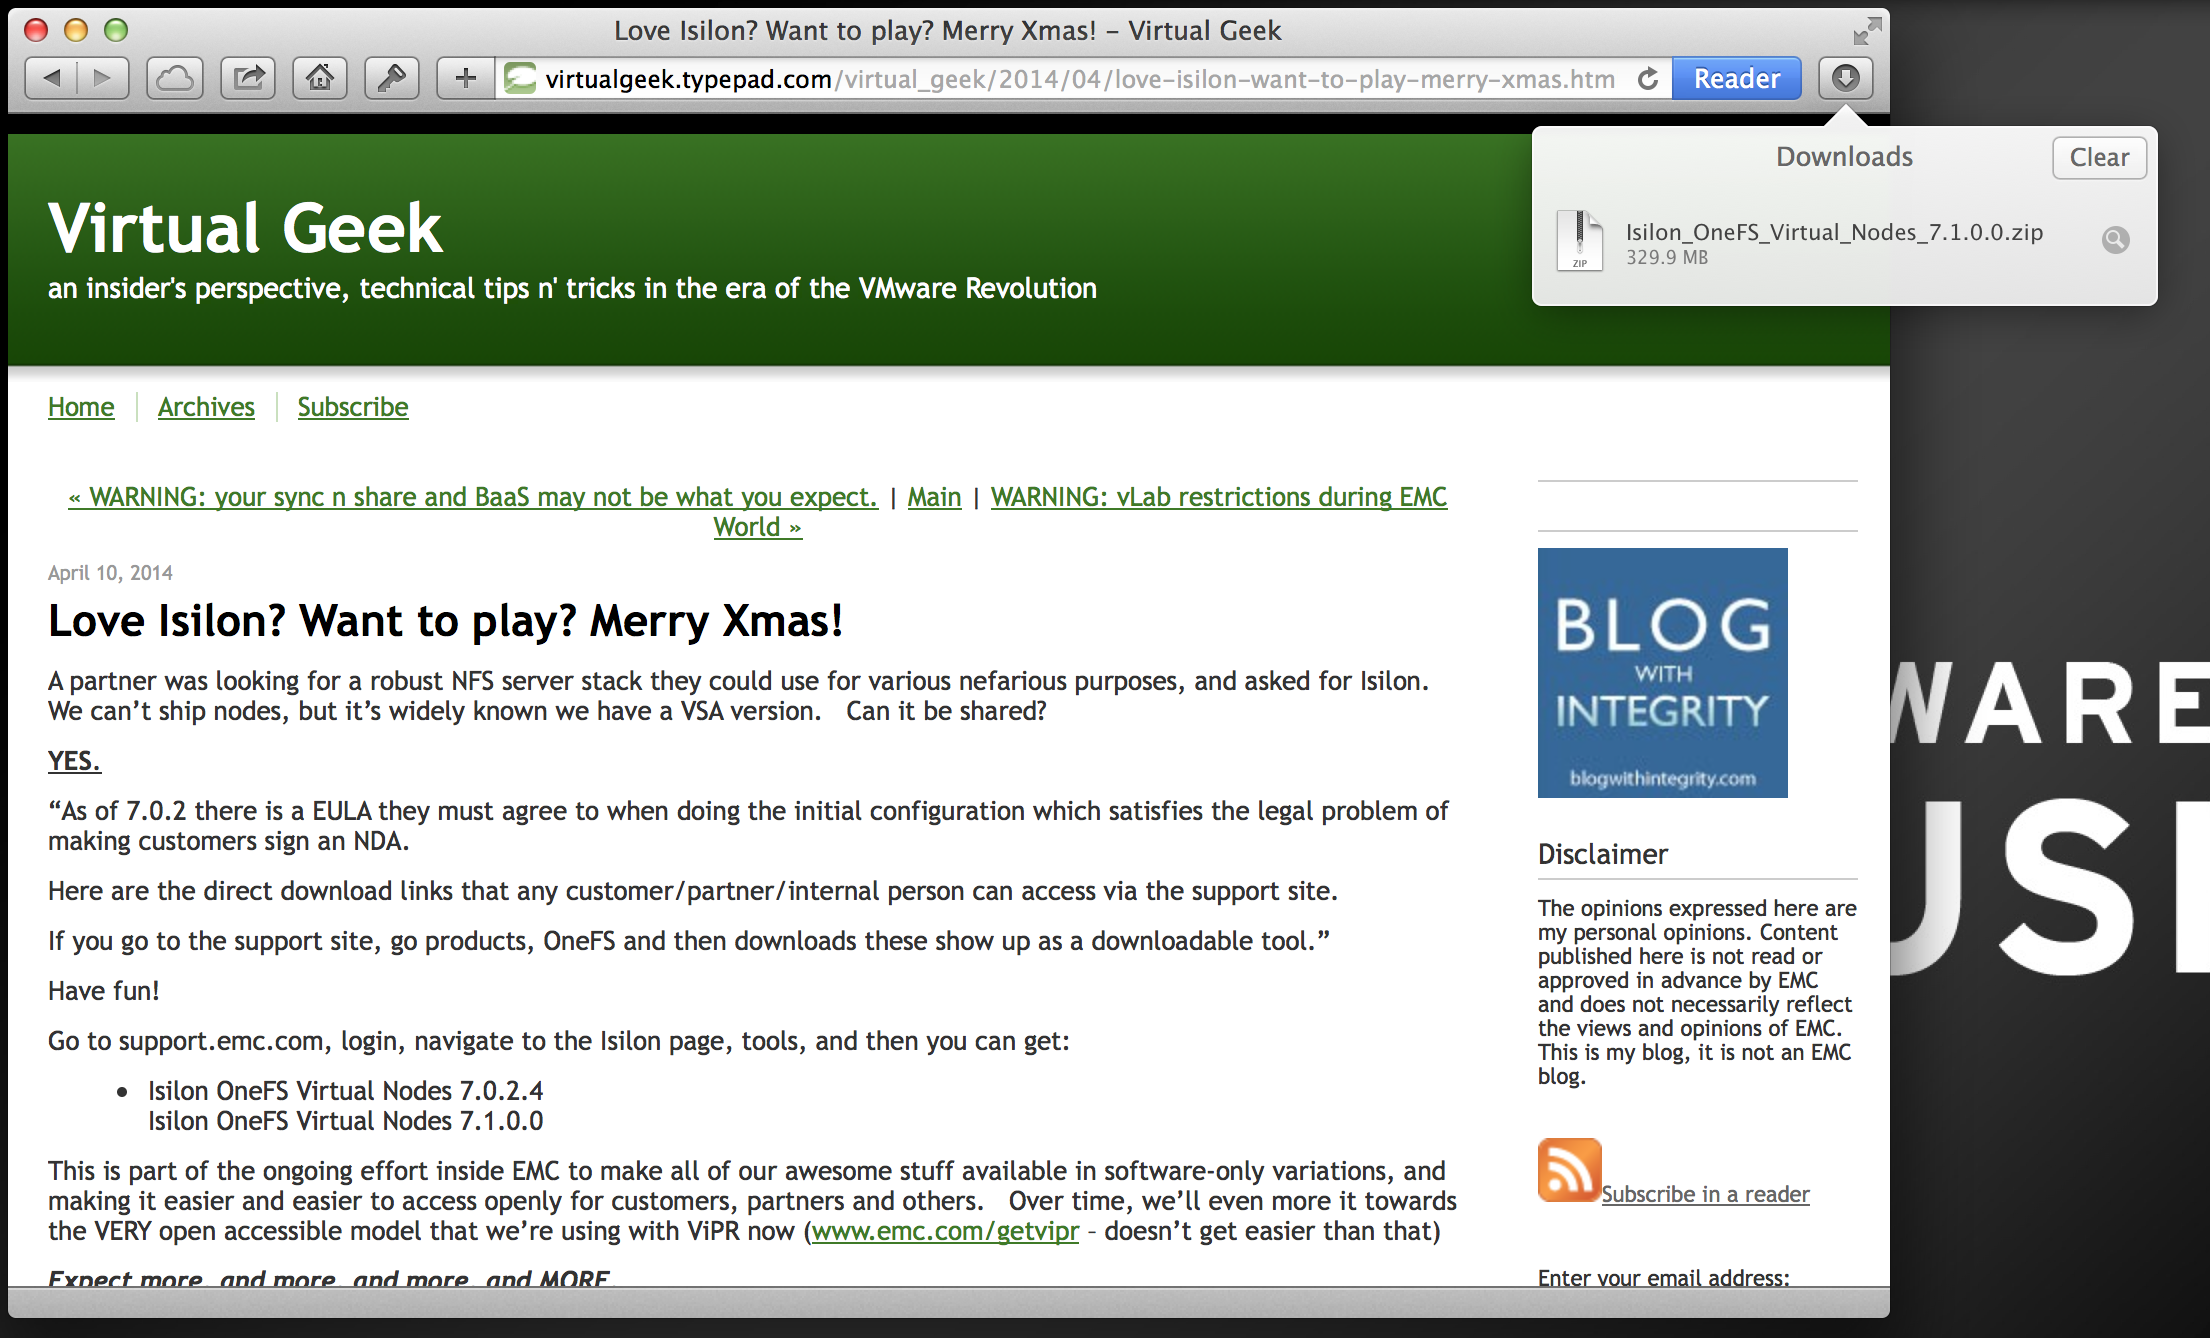
Again, check out Chad’s blog for more info around how to get the Virtual Nodes here: http://virtualgeek.typepad.com/virtual_geek/2014/04/love-isilon-want-to-play-merry-xmas.html
After downloading the appropriate zip, and extracting the contents, it is easy to install/configure. With the 7.1.0.0 build:
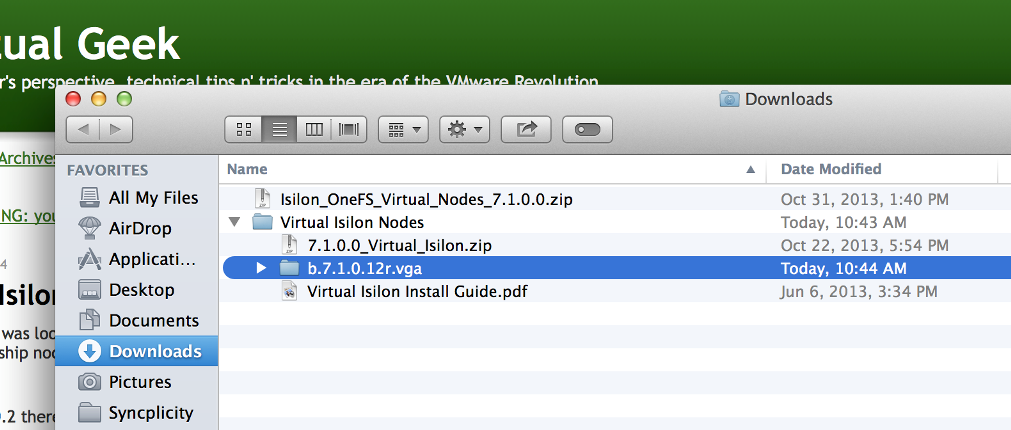
- Unzip the Isilon_OneFS_Virtual_Nodes_7.1.0.0.zip file and view the contents.
- Unzip the 7.1.0.0_Virtual_Isilon.zip file and view the contents
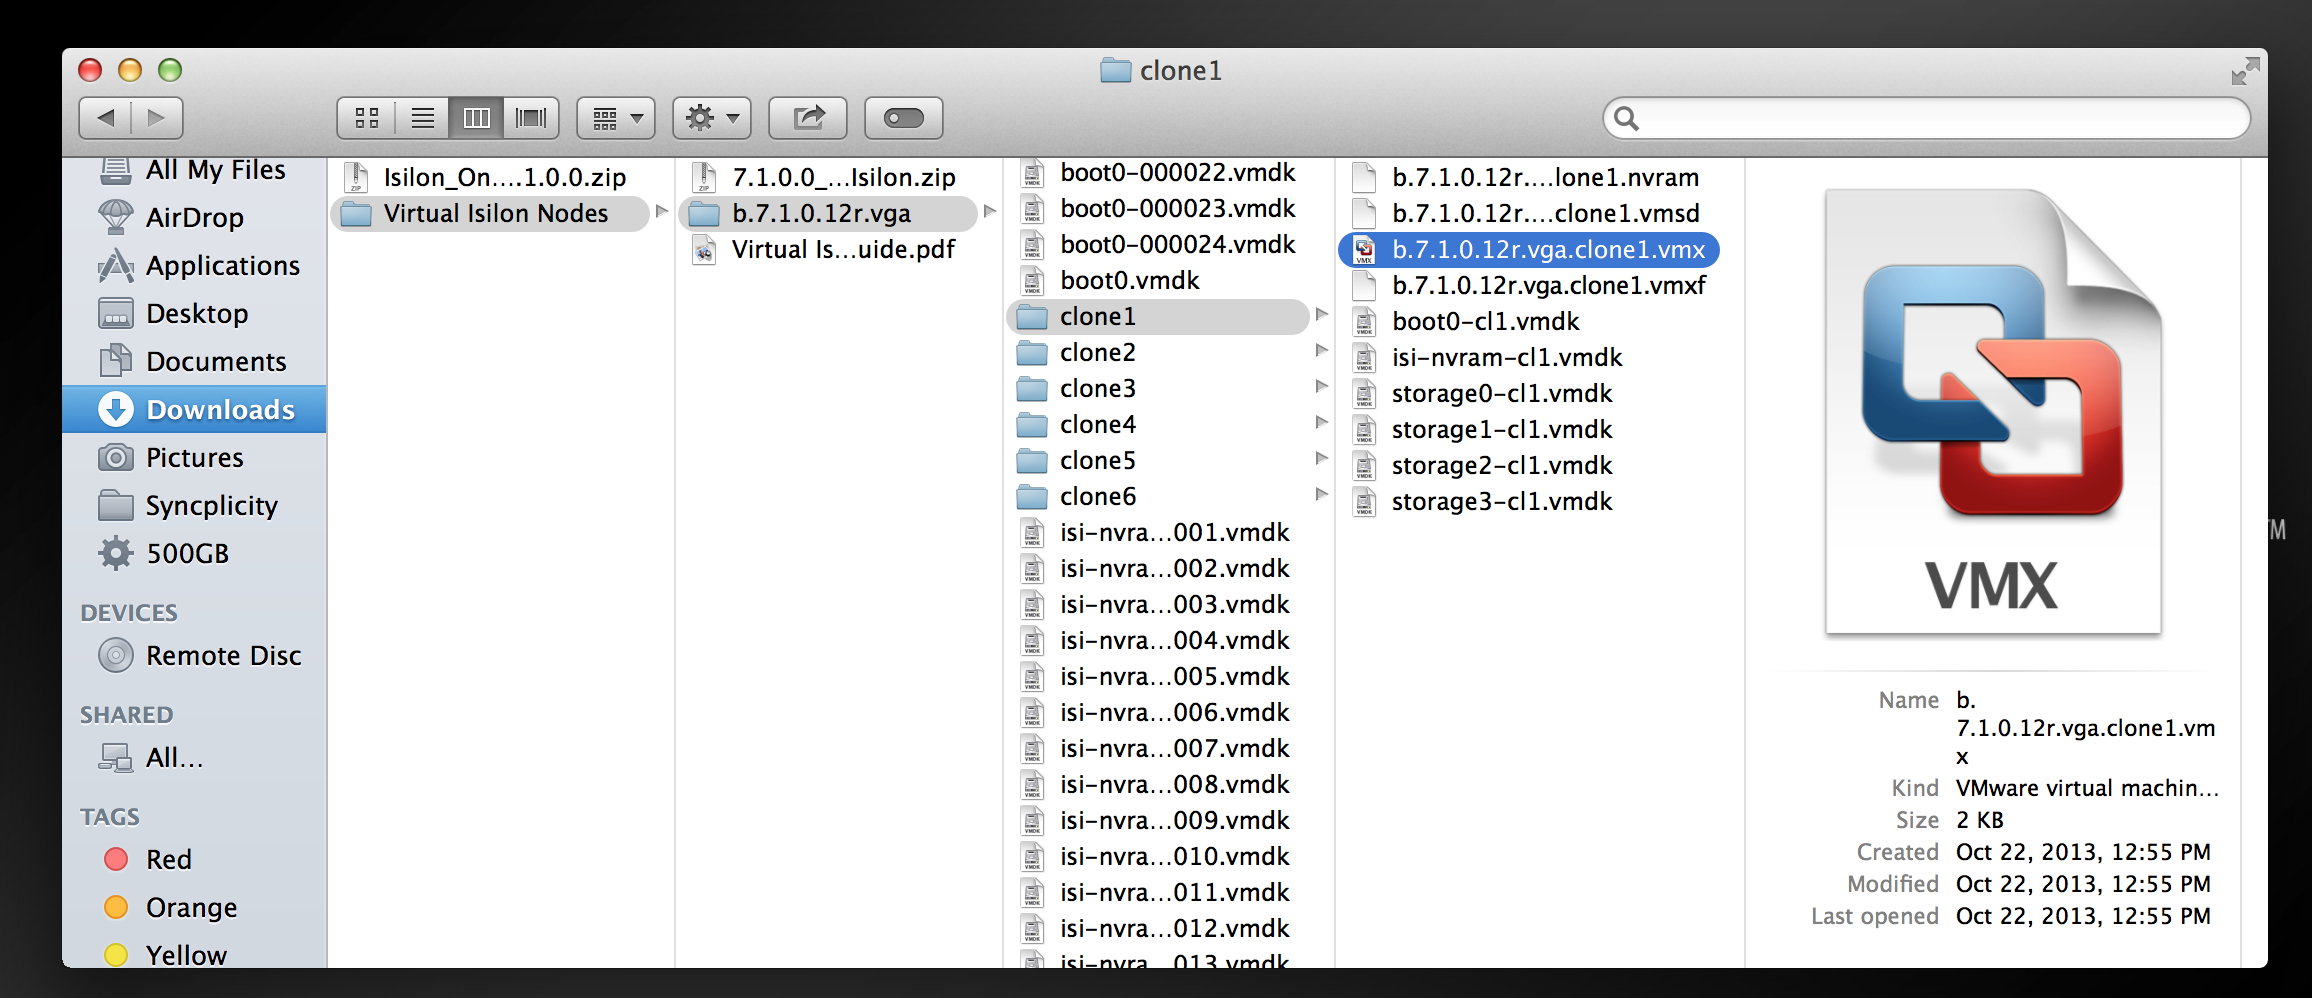
- Open the b.7.1.0.12r.vga folder to display the Virtual Node VM files (vmx, vmdk, etc.)
In VMware Fusion – Default
The Virtual Nodes are configured as Virtual Hardware v4 with 6 Linked Clones included.
Right click on the .vmx and choosing Open with – VMware Fusion (keep in mind, this is not in a Fusion VM format, but rather a Workstation format)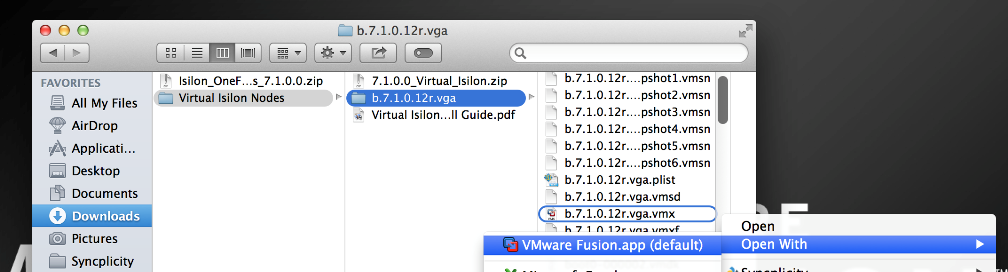
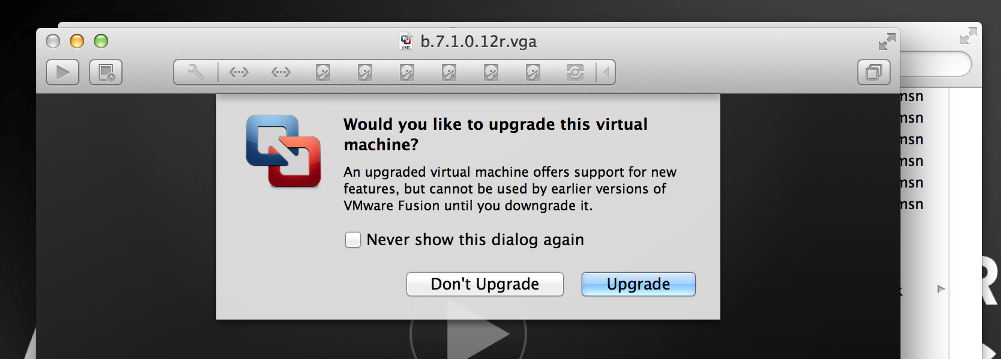
Once the VM is opened up, it will prompt to upgrade the virtual hardware version. Choose Don’t Upgrade.
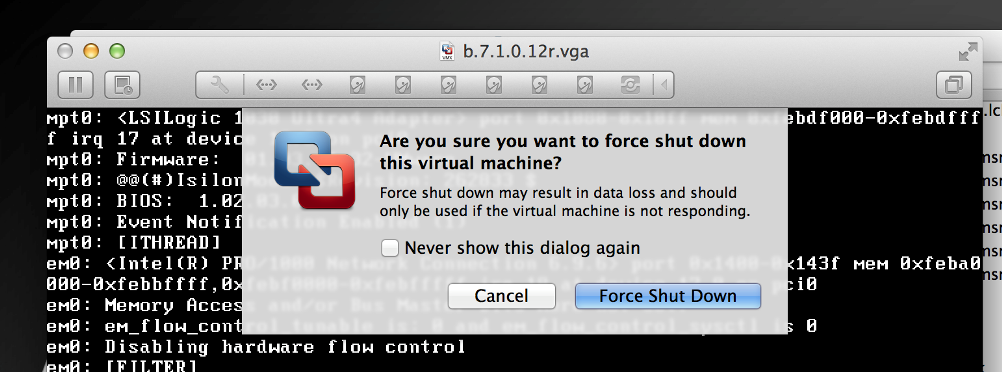
One thing that I don’t like about VMware Fusion, is that it always starts a VM when it is imported in this fashion.
For this virtual Isilon VM, I will force the VM off before it gets into the system setup.
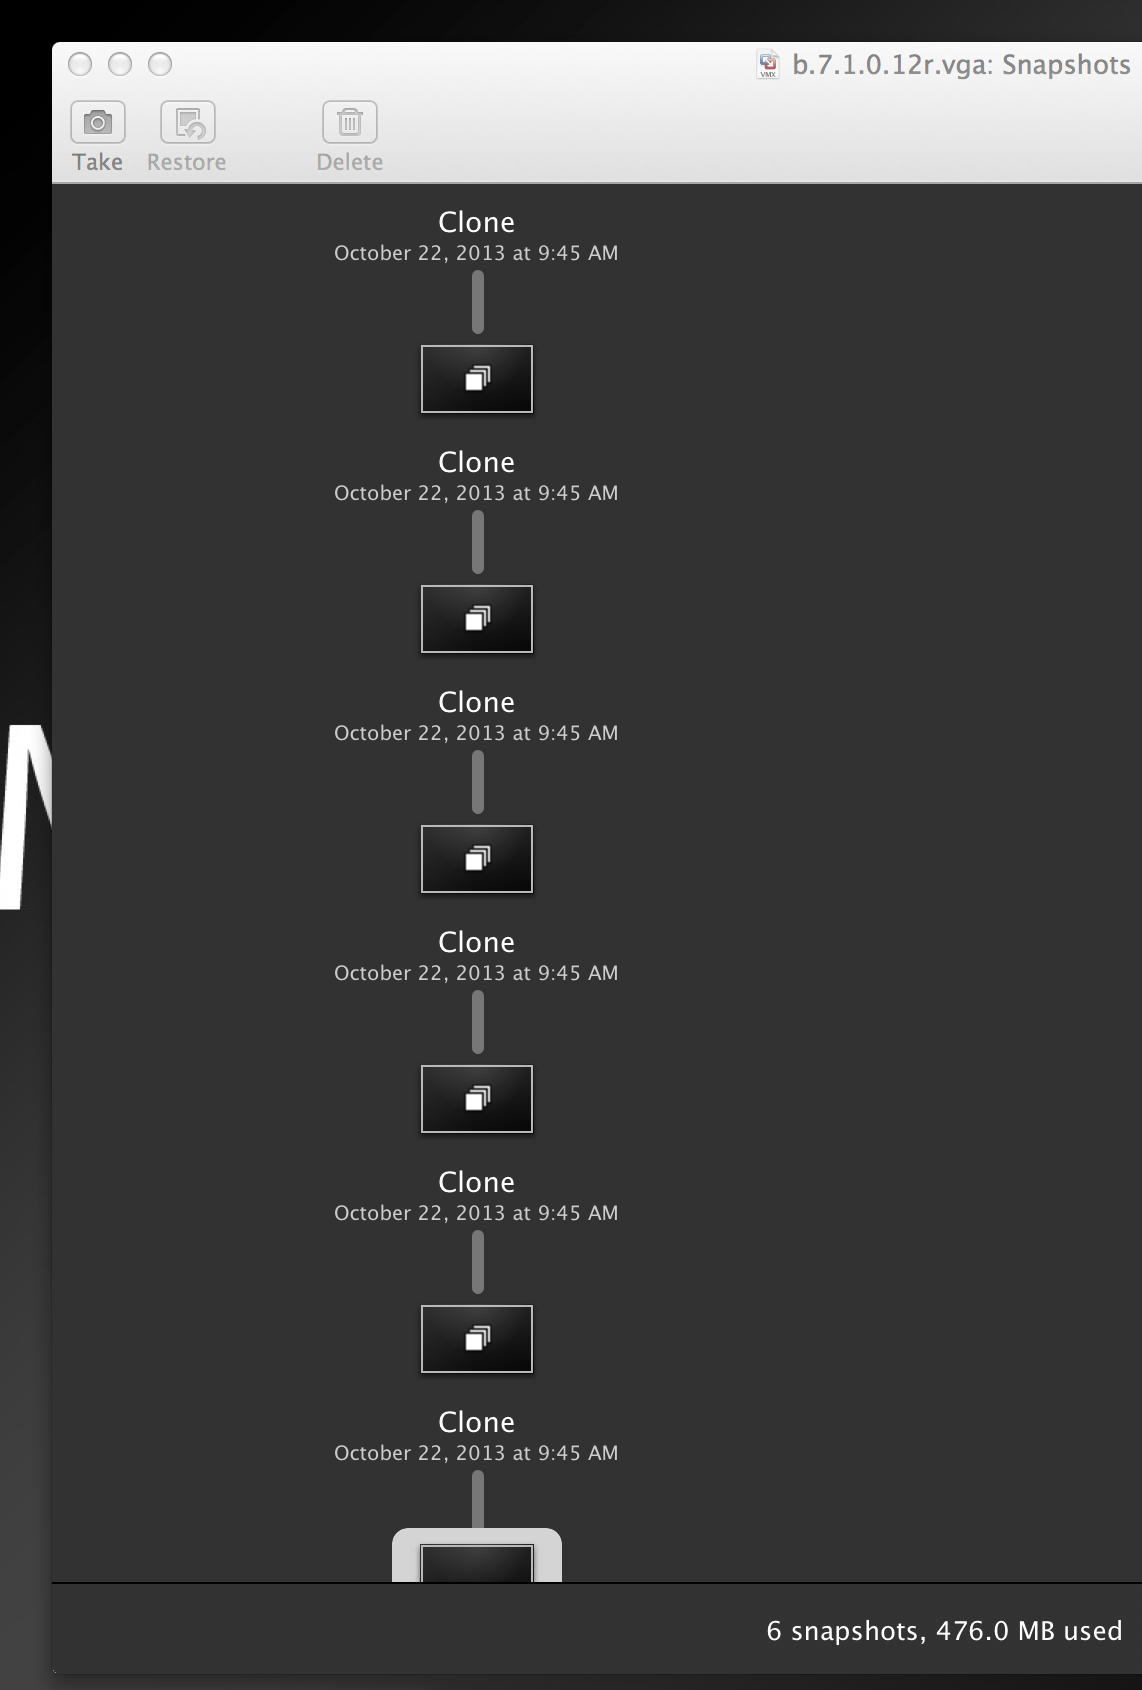
![]() In VMware Fusion Professional (I’m using version 6.0.4), opening the VM config file b.7.1.0.12r.vga.vmx will open the VM, and the Linked Clones will appear as snapshots.
In VMware Fusion Professional (I’m using version 6.0.4), opening the VM config file b.7.1.0.12r.vga.vmx will open the VM, and the Linked Clones will appear as snapshots.
Opening the b.7.1.0.12r.vga.cloneX.vmx under each cloneX folder will open the Linked Clones. With 6 Linked Clones present, a Virtual Isilon Cluster with up to 6 nodes can be run.
You may be required to browse for the location of the primary .vmx for the clone/snapshot to function properly.
A total of 1GB of RAM (plus any overhead) per Isilon snapshot will be required. Keep in mind that 3 nodes are the minimum requirement for Isilon to function properly.
In VMware Fusion – Custom Disk Size
To configure a cluster with custom disk sizes, one of two things must be done.
*Note: It is important NOT to power on the Virtual Nodes before performing these operations.
- A full copy must be made of the VM or
- All the snapshots must be removed from the Parent VM
A full copy in Fusion is performed by selecting opening the Virtual Machine library, right click on the Parent VM, then selecting Create Full Clone. Then provide a VM name and location, and finally click Save.
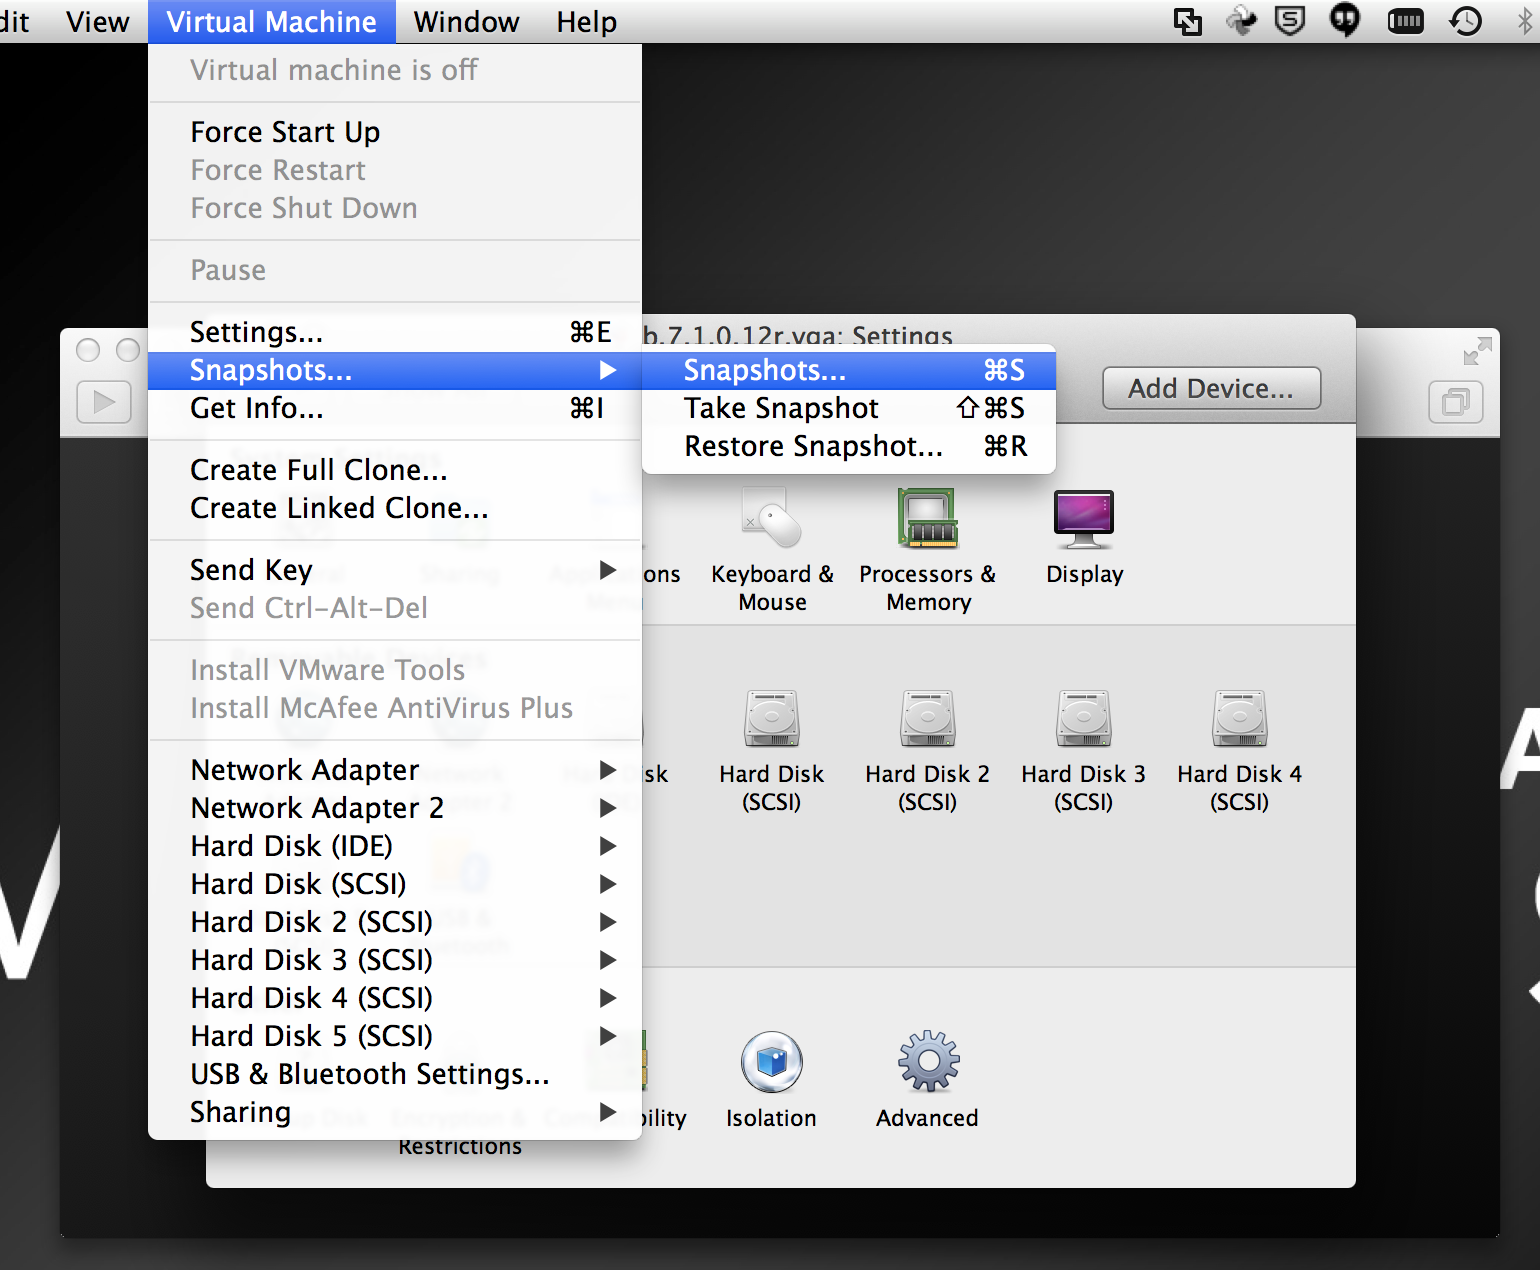
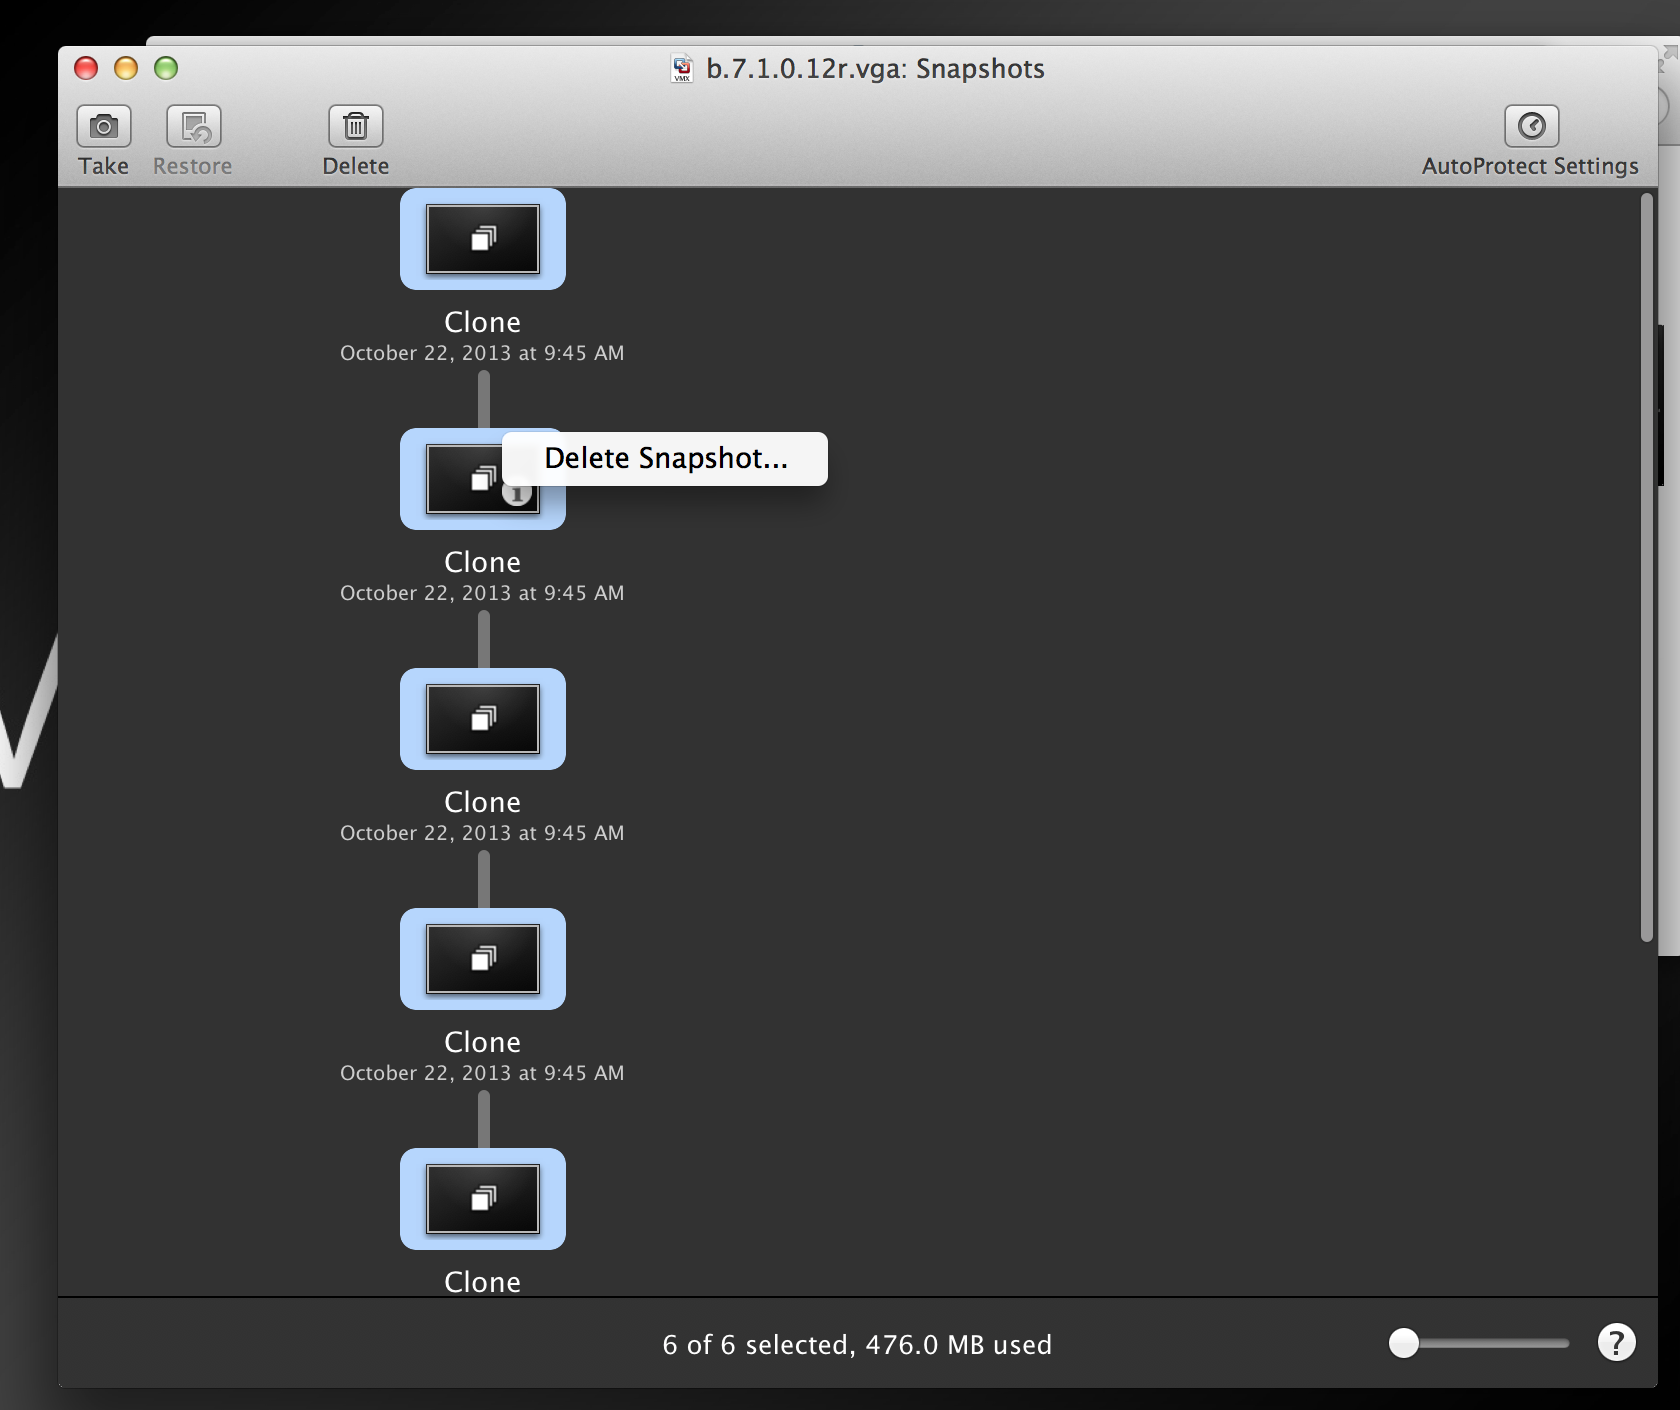
Alternatively, removing snapshots in Fusion is not as easy, but not too difficult. Select the the Parent VM in the Virtual Machine Library, right-click, select Snapshots. In Snapshot Manager, select each of the snapshots, and choose delete. When prompted, for confirmation, select Yes to remove the Snapshots. *Note, this will delete all of the Linked Clones as well.

Once an Isilon Node VM does not have any snapshots associated with it, the data disks can be resized. To do this, edit the configuration o the VM, select each of the 3.9GB hard disks, and expand it.
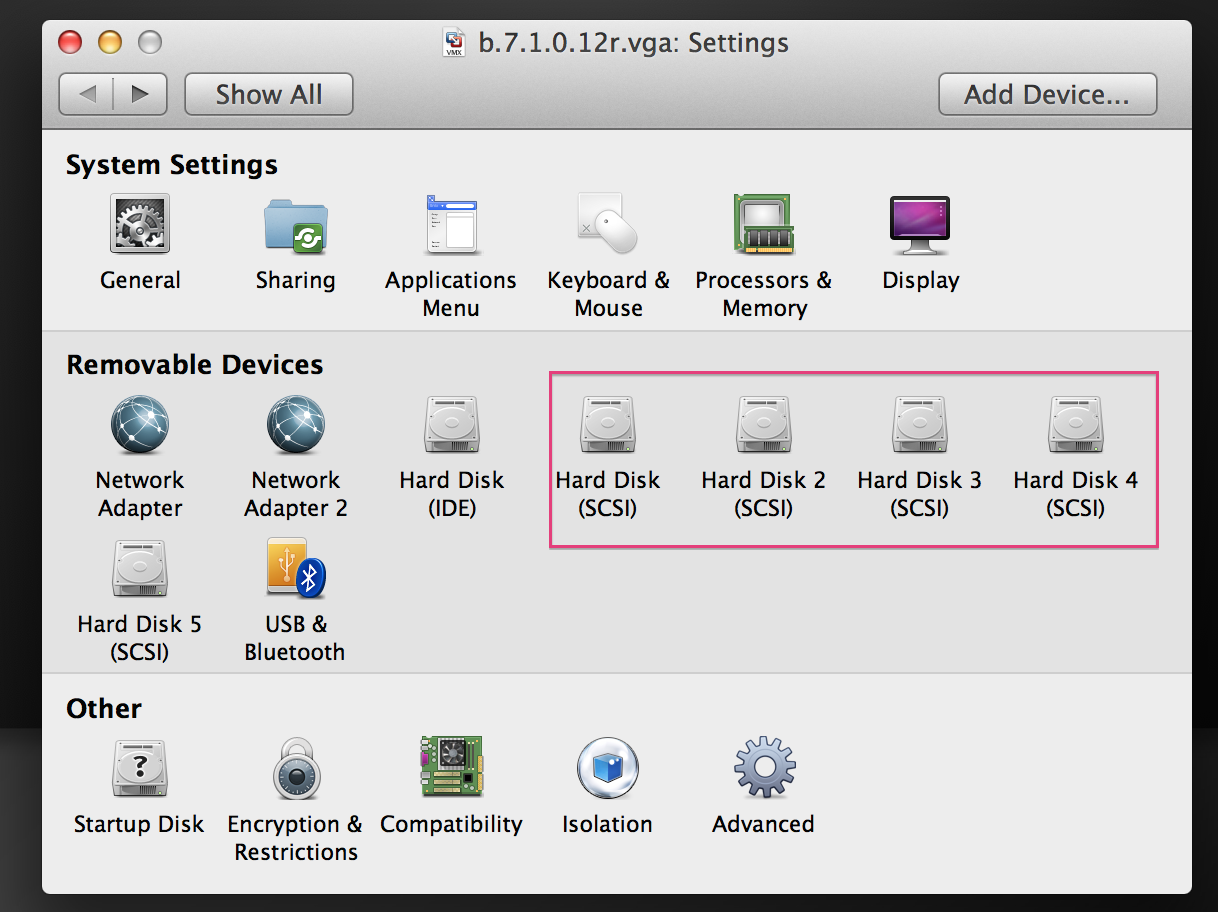
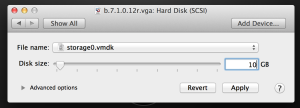
Four drives with 3.9GB allocated is roughly 13GB. Expanding each data disk to 10GB in this example provides about 35GB of storage for the node.
To create a 3 node cluster, simply copy/clone the Parent VM.
Getting Started
To setup the Virtual Nodes in a standard configuration, follow the PDF instructions included in the 7.1.0.0_Virtual_Isilon.zip file to configure a Virtual Isilon Cluster. Also EMC Elect member @dynamoxx has a guide for the 6.5.x build, which is very similar here: http://storagemonkey.wordpress.com/2013/02/10/deploying-virtual-isilon-on-esxi/
A couple things to keep in mind…
- The first NIC is considered the Internal (or backend) interface. Data traffic will flow across this NIC.
- The second NIC is considered the External (or frontend) interface. Cluster/Node management will occur on the cluter’s web interface through this port. Any CIFS/NFS data will be presented from this interface
- If you add additional NICs to the Virtual Node, they will not be recognized without further configuration.
- The Virtual Nodes come with 4 data disks (vmdks). The system will register errors about other disks not being present (5,6,7, etc). This is expected and does not indicate an issue with the Virtual Node.
Conclusion
I hope this presents a quick easy understanding of how to load Isilon Virtual Nodes on VMware Fusion.